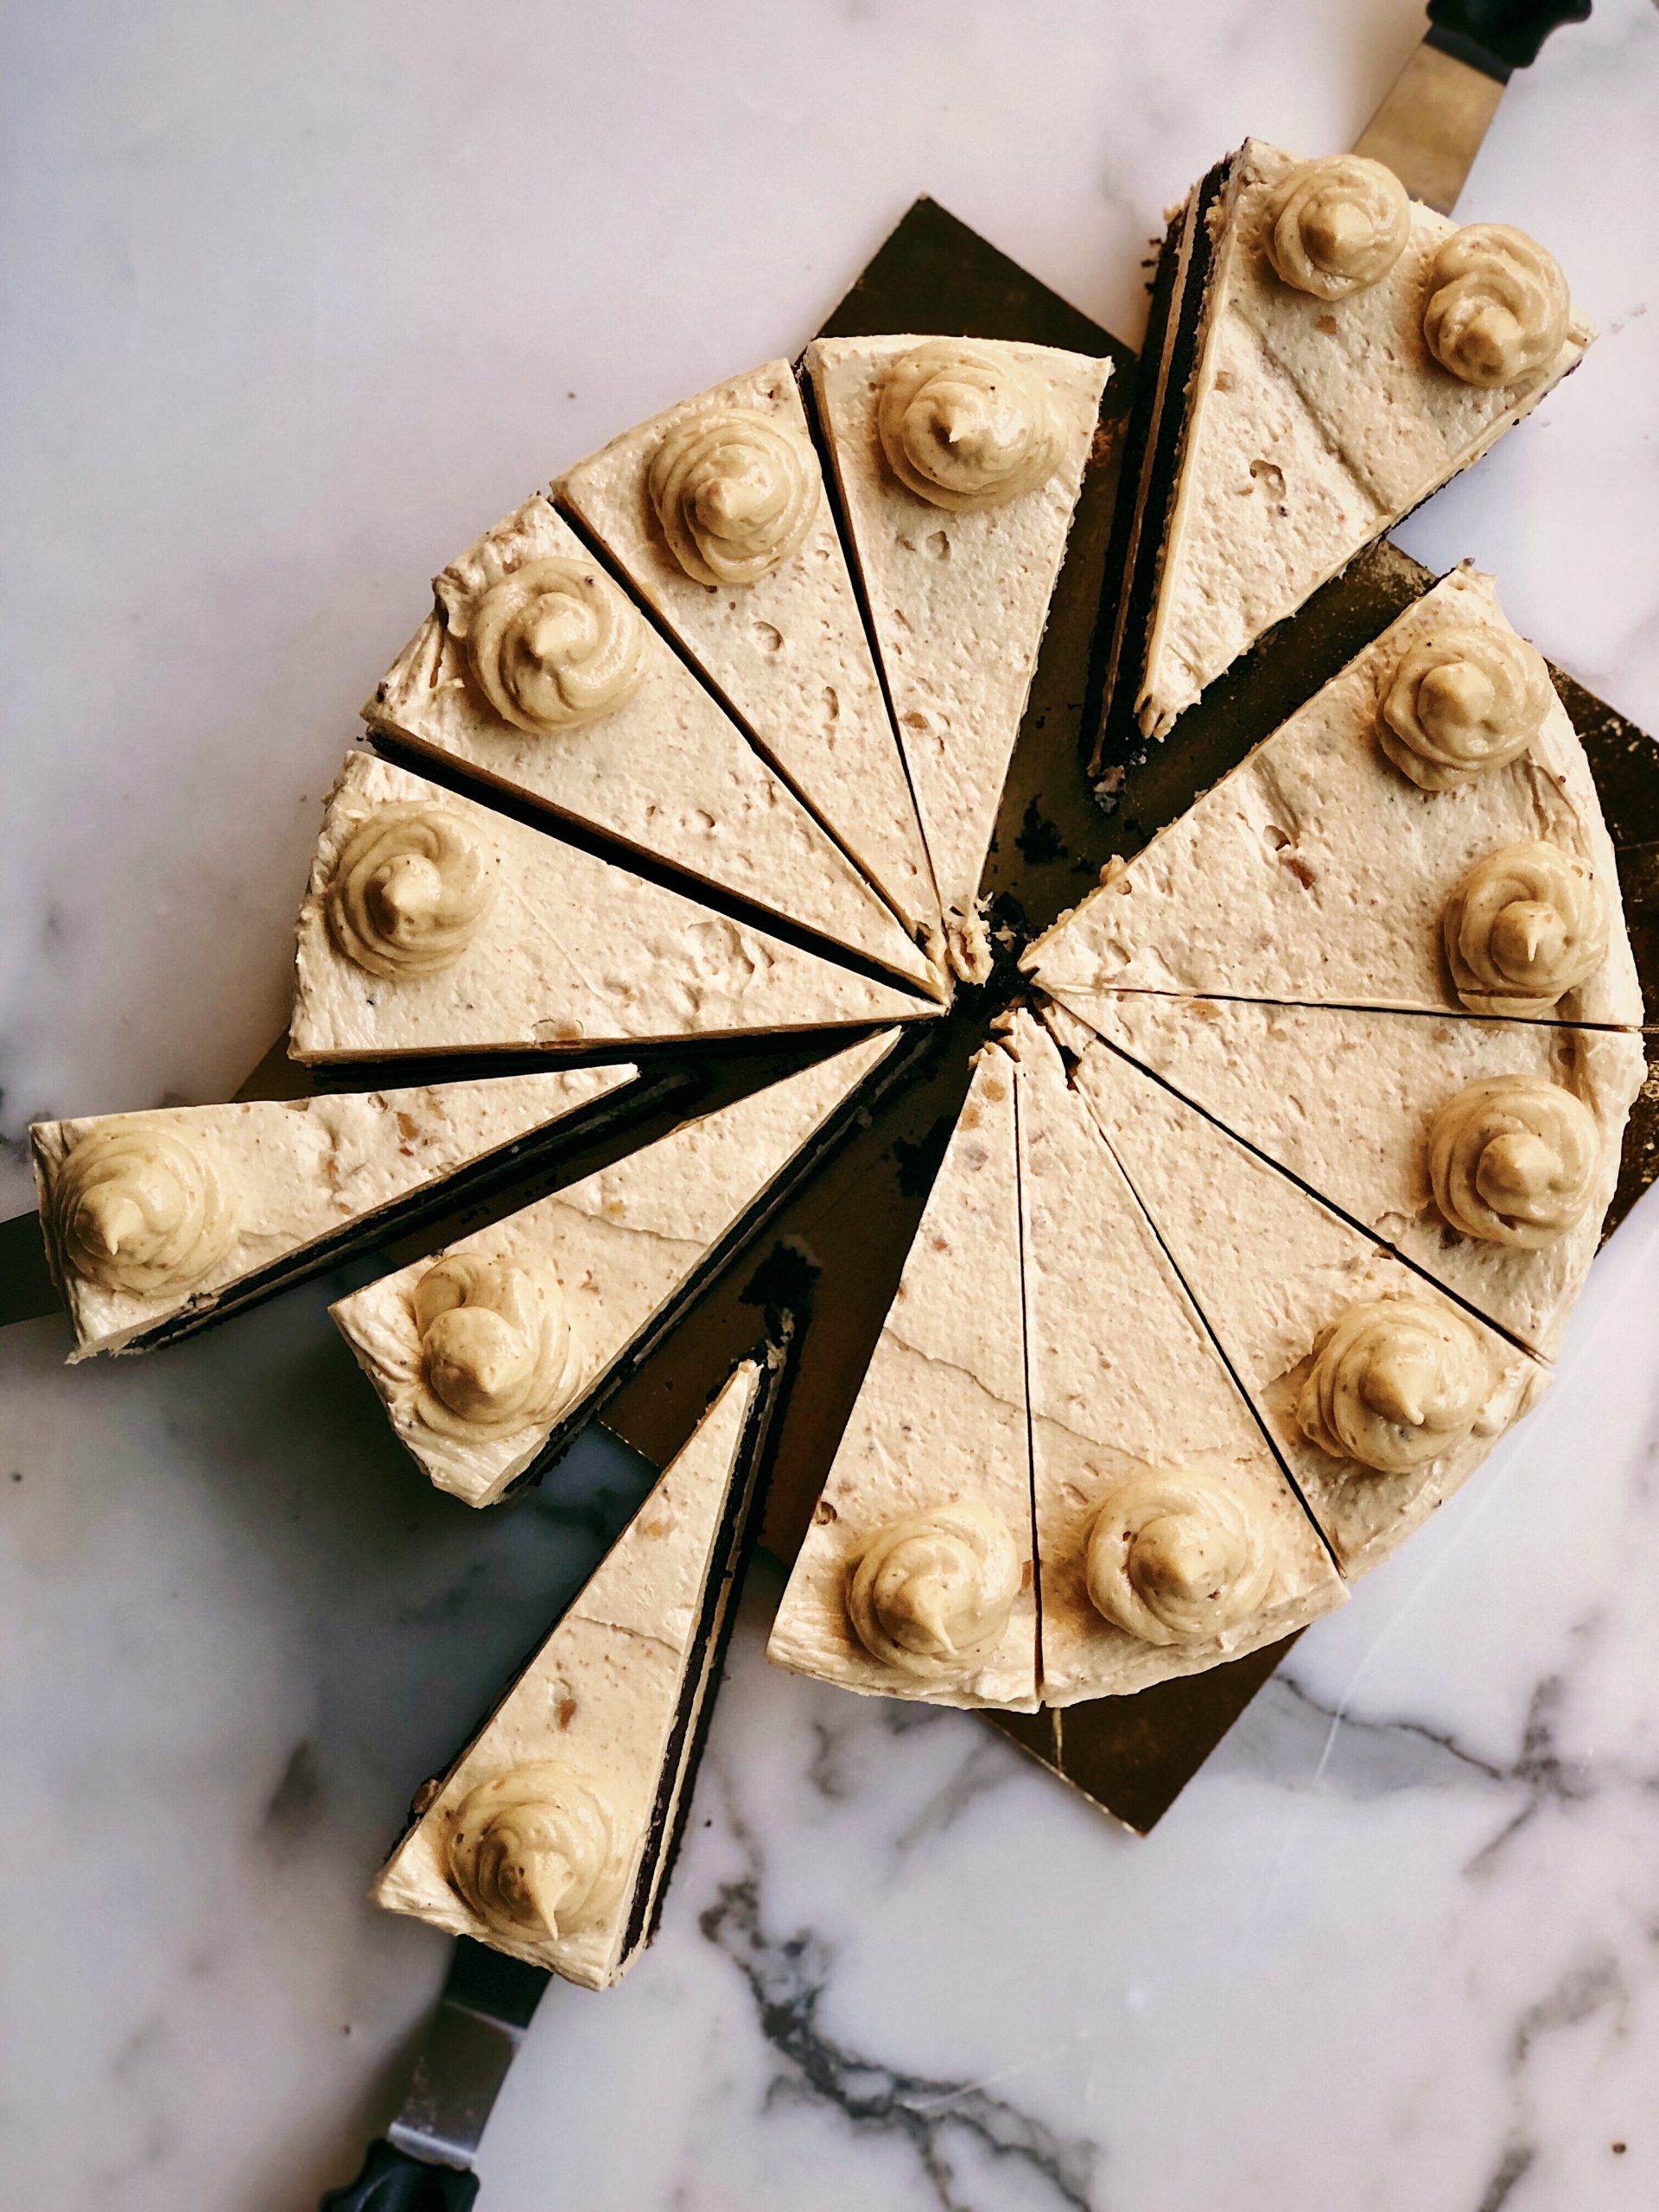
CHOCOLATE CAKE WITH A PEANUT BUTTER AND HORLICKS SWISS MERINGUE BUTTERCREAM
If I had to describe to you what this cake tastes like, I’d say it was like Reese’s cup turned on its head, malted, and intensely chocolatey. I’ve thought about making something nostalgic like this for months now, but I guess when you crave ultimate comfort, nothing comes to your rescue like chocolate cake. I might have had the shittiest few days, but I come home to this cake in the fridge and for a moment, things seem alright. The world doesn’t seem like a terrible place to live and love in, if only for a moment.

Chocolate Cake With A Peanut Butter and Horlicks Swiss Meringue Buttercream
yield makes 1 8-inch cake with two relatively thin layers
A slice of intensely chocolatey cake with a buttercream that’s spiked with a bit of nostalgia, this layered beauty is one of the best recipes on Belly Over Mind.
Ingredients
For The Chocolate Cake
Salted Butter 170g
Black coffee 170g (from instant coffee powder is fine)
Cocoa powder 42g
Good quality dark chocolate 85g
Brown sugar 225g
Vanilla essence 2 tsp or 1 tsp extract
Salt 1/4 tsp
Eggs 3, fridge-cold
Egg yolk 1
All-purpose flour/Maida 130g
Baking soda 1/2 tablespoon
For The Peanut Butter and Horlicks Swiss Meringue Buttercream
Sugar 1 cup
Egg whites 4
Salted butter 226g, room temperature
Creamy Peanut Butter 1/2 cup
Vanilla essence 2 tsp or 1 tsp extract
Horlicks 2-3 heaped tablespoons
A large pinch of salt (optional)
Instructions
Preheat your oven to 180 degrees celsius. Grease and line one 8-inch tin with baking paper and set this aside.
In a saucepan too over low heat, melt the butter into the coffee. Once the bits and bobs of butter have melted into golden puddles that sit pretty over the coffee, you want to get it off the hob and into a mixing bowl.
Swiftly, add to this the dark chocolate, cocoa powder, brown sugar, vanilla and salt and give it a good whisk. Add the eggs along with the yolk and whisk again.
Sift the maida/flour and baking soda over the whisked mixture. Whisk one or two more times to combine. Transfer the batter to the cake tin and let it bake for about 40 minutes or until a cake tester inserted in the centre comes out with a few crumbs attached, but not wet.
Let the cake cool in the tin completely before turning it out. Run a knife around the cake to pry it away from the edges and turn it out in one swift motion.
To make the buttercream, assemble a makeshift double boiler setting on your stovetop with the help of a saucepan and a bowl that fits snugly over the saucepan, the base of which in no way should ever be in contact with the water below. Fill the saucepan underneath with some water and once the water below is simmering, reduce the heat. In the bowl above, add the egg whites and sugar. Place the bowl above the saucepan while the heat is on low and whisk away constantly till a thermometer reads 70 degrees celsius or 160 degrees Fahrenheit. If you don’t have a thermometer, you have to wait till the mixture turns opaque, the sugar is completely dissolved and a bit of mixture rubbed between your fingers should feel completely smooth rather than grainy.
Once the sugar and egg whites have hit 70 degrees celsius, transfer this mixture to the bowl of a stand mixer fitted with the whisk attachment and whisk on medium-high speed until the meringue is glossy and you have hit stiff peaks stage. The bowl of the stand mixer should also feel cool to the touch.
When you hit stiff peaks, switch the whisk attachment with the paddle attachment and on low speed, add the room temperature butter a tablespoon at a time until you have added all the butter. The mixture might look curdled but don’t worry about this. Switch up to a higher speed and let the stand mixer run until you have achieved the light, billowy frosting consistency of buttercream. Now is when you add the peanut butter. Beat again on high to incorporate the peanut butter followed by the vanilla and the Horlicks. The buttercream should be ready now. Taste and adjust to see if you’d require any more Horlicks or that pinch of salt that I added to mine.
Torte the domed top of the now-cooled (you can chill the cake too) cake so that the top is flat. Further torte the cake from the centre so you have two thin cake layers.
Dollop large heaps of frosting on top of the bottom layer. With the help of an offset spatula, pry the buttercream towards the edges making sure you have a thick enough buttercream layer. Place the second layer above this layer of buttercream, and dollop another layer of buttercream over layer two and level this layer of buttercream as well with the help of the offset spatula, prying it towards the edges and overboard a little bit. You can choose to chill the cakes in between this process if you feel like the buttercream is getting difficult to handle.
Continue to frost the cake by adding large blobs of buttercream to the sides and swooshing them around the edges of the cake to seal any space between the layers and compact the crumb. Decorate the top if you wish, and chill the cake until the buttercream firms up.
When ready to cut, dip a knife in a hot water, dry the knife and slice into the cake to make clean cuts. Dip into the water again and dry between turns.

